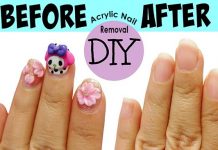
In this article, we bring you best ideas to remove gel nail polish. Beautification of your nails is as much important as other parts of your body. Other than those simple techniques that include plain nail lacquers that are easily applied on the nail without a much fuss, many other options are also available at nail salons that are used to give a sheen and glamorous appearance to your nails. Gel nail polish is a type of nail lacquer that is applied to the nail and then UV rays are used to dry out and set the lacquer. This then remains on your nail for about 10 days to up to 3 weeks.
But, there comes a time when you get bored with the same appearance of your nails and want to give a different style. This will require you to first remove gel nail polish and then chose a different style that will give your nails a new look. In this article, we will tell you that how to remove gel nail polish at home.
Disadvantages of Gel Nails:
- Like every coin has two faces, similarly gel nails also have a few disadvantages, that are worthy enough to make you avoid their use in future. No matter how beautiful they appear or the glamor that they add to your overall appearance.
- The biggest disadvantage is, that continuous use of gel nails can lead to cancer. This is because of the UV lights, that are beamed on your nails to dry out and set the nail lacquer.
- Which is why the beautician will always apply an effective high SPF sunblock before commencing the procedure.
- Second, biggest disadvantage is that they cause the nails to get thinner on every application.
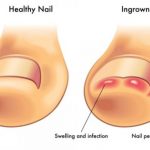
- In such conditions the nail breakage can be even more painful as due to being thin, it breaks at a much higher point on your nail bed. This can often lead to infection .
- The time taken by your nails to completely heal after a gel nail treatment is, of a month or maybe two. Depending upon the sensitivity of your nails.
- Removing the gel nails is not as easier as any other nail lacquer that you apply and remove on a regular basis. It requires you to soak the nails in pure acetone.
- Now, acetone itself is harmful to your nails and skin. This is because, it sucks away the natural moisture, making it severely dry.
- Imagine what acetone in its purest form can do to your skin and nails.
The whole procedure to remove gel nail polish is divided into 4 different parts.
Part 1: Set Up Beauty Station at Home to Remove Gel Nail Polish
Contents
1.) Find a Place to Patiently sit
Since this procedure to remove gel nail polish can take a lot of your time, it is recommended to choose the most isolated part of your place.
- So, that you stay undisturbed until the task is completed and you get the desired results.
- Also, while using acetone to remove the gel nail polish, you have to take precautions that it doesn’t come in direct contact with your furniture, bed sheets, kids and pets.
- So, an isolated and empty room is the best choice. You can also get into the bathroom if it’s spacious enough. Also, make sure you have an extra space for others to poop or pee while you are busy playing a salon pro.
2.) Precautionary Measures
Place an unwanted old cloth, paper mat or an old cereal box to the area that you chose to perform the task.
- Please do not use an (un)empty cereal box. It should be empty with nothing inside and just the unwanted paper. carton.
- This prevents the surface in case any of the drops of acetone are spilled accidentally or due to you being a bit kinky with things.
3.) Get the Aluminum Foil
Tear strips of aluminum foil to cover your fingers while performing the task. It will help to keep the acetone soaked cotton balls in place.
Get them before you start the removal process to avoid mid-process chaos.
4.) Stock all the Necessary Items
Get the things that are necessary for the removal procedure. Keep them near you, so that they are easily reached when required.
Also, stock extra items so that you don’t run out of stock in the middle of the procedure.
The list of necessary list of items include:
- A bottle of acetone
- Nail file
- Nail buffer
- Aluminium foil strips
- Cotton swabs
- Orange sticks
- A bowl
- A clean and old hand towel.
Now, we will begin with the actual procedure to remove the gel nail polish.
Part 2: Soak Your Nails to Remove Gel Nail Polish
5.) Scuff the Surface
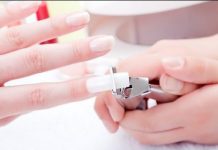
Use a nail file to scrape off the surface of the gel nail polish. This allows the acetone to easily penetrate to the finishing coat and work effectively; to remove the gel nail polish.
6.) Pour into a Bowl
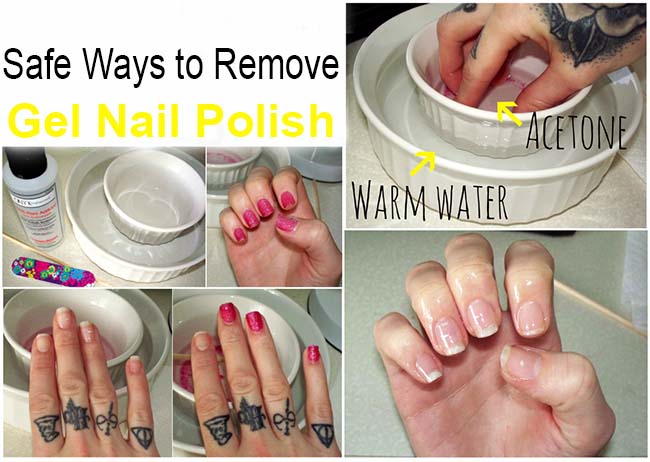
Pour acetone safely into a bowl and soak a few cotton swabs in it. Avoid direct contact of the acetone with the skin as it can dry the skin.
You can also keep the acetone warm for more effectiveness. This can be done by simply placing the bowl of acetone in a bigger bowl filled with warm water.
NOTE- Do not apply heat anywhere near the acetone as it is highly inflammable in nature. Using warm water is the safest way to heat your bowl of acetone. No other techniques are to be applied to warm up your acetone.
7.) Place it on the Nail
After that you have soaked the cotton swabs in acetone, place them on the nail surface. Use the aluminum strips to secure the cotton swab in place and wrap it up on the finger.
Wrapping the fingers will also help to trap the heat of the acetone and also produce extra heat to remove the gel nail polish easily. Do this to all of your fingernails, working with one at a time.
8.) Allow it to Work
Now, after that you have wrapped each of the finger nails, let it work for at least 7-8 minutes and have patience.
You may also have to repeat the procedure if doing it once is not enough to remove the gel nail polish effectively.
Part 3: Removing the Gel Nails
9.) Remove the Wraps
Slowly slide off the wraps from your fingers. Inspect your nails well and see how effective was the procedure.
- Check if the gel nails polish is still hard and you need to repeat the procedure again. In case yes, then repeat the procedure.
- If not then move on to the next procedure.
- This process will help you to remove the gel nail polish safely at home.
10.) Use the Orange Stick.
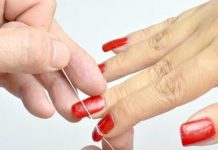
Use the stick to scrape off the gel nails from your original nail surface. The nails should come out easily if the procedure was effective.
- In case it’s not, repeat the soaking procedure all over again.
- Do this with each of the fingers, working with one at a time.
- Also, do not hurry the procedure and be gentle with your nails.
- Hurrying may tear off or damage your original nails.
- This process will help to remove the gel nail polish safely.
Part 4: Buff Your Nails
11.) Wash Your Hands
After you are done with the procedure to remove gel nail polish, wash your hands with warm water and a disinfectant soap. This will eliminate any of the acetone remains on the nail surface. Towel dry your hands after washing.
12.) Buff the Nails
After washing off any acetone remains that must have settled on your nail surface, now buff your nails properly to remove any remains of gel nail polish on your original nail surface.
13.) Wash Again
After buffing, wash your hands again to remove the dust that is developed due to the buffing process.
It is important to remove the dust, as it is a result of the gel nail and is harmful if gets inside your body.
14.) The Moisturizer
Now that, you are done with the procedure to remove gel nail polish, moisturize your hands to restore the natural oils back to the skin and the nail bed. This will prevent your nails and skin from damage.

