Nothing can be as lovable for a girl to pamper herself at a beauty salon. It may sound fine for all those festive occasions but, when it becomes a daily deal, spending those bucks becomes odd to manage. In that case, all you can do is to save time and a few bucks by simply playing a salon pro at home. So, the topic to discuss in here is to Cut your Own Hair and we will be guiding you throughout the procedure from buying a pair of scissors to trimming those last bits of your hair.
Giving a haircut to your own hair may sound challenging, but it is actually not, Well if you have trust issues, then I am the example. It is a tried and tested formula by me and that is when I am actually referring it to you. Risks are involved in every single task and all that you require is to pay cent percent attention to what you are busy doing. If you follow the steps correctly, we bet you that you will master the tricks and ditch those salon visits for your routine haircuts at least.
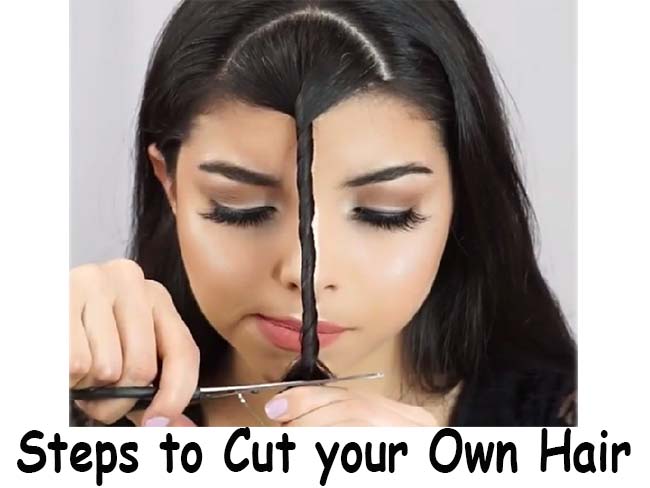
Keep reading further for the instructions and steps to cut your hair at home without involving much fuss.
Steps to Cut Your Own Hair at Home
1.) Buy a Sharp Pair of Scissors
This is the very first step to cut your own hair effectively. All you need to do is invest in good quality scissors and do not use just any other old pair of scissors that has just emerged from your old trunk. You will also need a fine-toothed comb to separate the sections of your hair.
These hair cut scissors are easily available at any beauty supply stores and are pretty worth to spend a few bucks on them. All you need to spend is around 25-50 dollars for a pair of good quality scissors.
Using a dull and old pair of scissors is a bad idea as you will find it harder to cut your hair they may also damage the ends of your hair, this ending up in split ends. This eventually defeats the whole purpose of having a haircut.
2.) Wash Your Hair
Wash your hair with the regular shampoo and also condition them properly. This will ensure to eliminate any knots and tangles within the strands. Now, simply towel dry your hair but, leave them slightly damp.
Comb your hair after that to keep them tangle free, also you can comb your hair after applying the conditioner. This is the easiest way to keep your hair tangle free after wash.
In case your hair is quite long or too thick, there’s a good chance that sections of your hair might start to dry before you get around to start snipping them off. In order to tackle this problem, fill a spray bottle with water and a little bit of conditioner. Use this to dampen your hair whenever you actually feel the need.
3.) Divide the Hair into Sections
Always work on your hair by dividing them into sections to ensure better coverage, when you are up with the process to cut your own hair. Start with the bottom section first and then moving towards the top.
Use elastic hair ties or simple banana or crocodile clips to hold your hair in place. Once you are done with the bottom layer of the hair, unclip the other layers and start working on them as well.
4.) Trim the Split Ends
In case you just want to trim the ends off in order to eliminate the parted ends and prevent the hair strands from damage, this is the best trick to cut your own hair.
Initially, you will have to inspect the hair strands to check if they appear scraggly or unruly. This step is also important to find out how much of the hair you need to snip. Expect to trim off about 0.25 inch (6 mm) of your hair, just above the damage stops. This will maintain the health of your hair.
5.) Measure for Accuracy
- In order to maintain the accuracy of your haircut, grab a section of your hair between the index finger and the middle finger.
- Drag those fingers down your hair, up till the point slightly above, where you actually want to cut your hair from. Make sure the hair lie perfectly straight and is not knotted or twisted between your fingers.
- Your hair looks shorter when to dry so be a little when snipping off those strands especially for people with curly hair.
- You can always cut them short but cannot regain the actual length back, immediately so, do not cut too much of them at once.
6.) Start Snipping
Now you are all set to cut your own hair, just hold the scissors below your fingers, in a parallel fashion. Slowly trim the hair, letting the cut hair to fall on your fingers.
If you prefer blunt ends, simply cut straight and leave it that way. But, in case you want a softer appearance, hold the scissors vertically (that is perpendicular to your fingers) and cut directly into your hair. This will give your hair ends a sharp edge and a more feathery look than the simple blunt cut.
7.) Make Sure to Match The Ends
- After you are done with the snipping, make sure to match the ends of your hair to ensure equal lengths.
- Grab a section from both the sides of your face using your thumb and forefingers. Pull your fingers down to both the sections of your hair at the same time.
- Whichever hands run out of the hair section first, means that these are shorter in length than the other section.
- Trim the longer section to match the whole appearance and keep on re-checking until you are totally satisfied with the look. After which, you can move on to the next layer of your hair.
8.) Trim the Second Layer (Optional)
- This was it with the lower section, now work with the top section of your hair. Unclip them and decide the length that you want to snip.
- Take as much lesser portions as possible and be near to the ends. Hold the scissors and start trimming.
- Do not cut them short and match the proportions with the bottom layer. Too short layers will end you up with an emo haircut.
- For the layers around your face, hold the scissors in slight downward angle and cut the hair from the jaw till the shoulder.
- Do this will only a small section of your hair that covers your face and follow the same procedure for the other side of the face as well.
8.) Inspect Your Haircut
After you are done with the procedure to cut your own hair, blow dry your hair and inspect the new look. Use a handheld mirror to check for any leftover strands or if you need more trimming to eliminate the damaged strands.
Ask your bestie to do the work for you as she can have a more precise access to the hair at the back. In case you find any uneven cuts ask the partner to do the work for you and snip those uneven strands. Be careful and cut as little as possible.
9.) Cut The Bangs
- In case you wanna have bangs that fall all over your face giving your face a softer edge, follow the procedure below.
- Simply grab a section of your hair that fall around the face area.
- Pull the rest of the hair back and pin them up so that they do not come along with the scissor in the midst of the cut.
- Wet these bangs and decide home short you want them.
- Clamp your index finger and the middle finger around that particular section of your hair.
- Now, glide them down slightly below the point where you actually want to trim them from.
- Hold a pair of sharp scissors and start trimming those bangs.
- Once done, match the length and ensure there are no uneven ends.
- For the blunt appearance, simply cut the hair straight.
- For a softer, feathery appearance, hold the scissors perpendicular on your finger and they cut the hair.
- This will form tiny 90-degree triangles at the end of your bands.
- And you are done with the procedure to cut your own hair at home.
10.) Dry them Out and Style
After following the step by step procedure to cut your own hair, you will surely be satisfied with the result. Now, all you need to do is use a blow dry to dry out your hair, this will give you the real appearance of your hair.
Apply your favorite styling product and decorate them with your favorite accessories in whatever way you want them to appear for the whole day long.


